
Getting started
Get started
Wallet, Robinhood Chain, ETH for gas, then your first Discover trade or Instant / Bonding create — step by step.
At a glance
Install a wallet, switch to Robinhood Chain, fund ETH for gas, then connect on peeps.wtf.
Quick tip
Keep a little extra ETH for gas — network fees are separate from Peeps trading fees.
Getting started on Peeps takes a few minutes: open a wallet, switch to Robinhood Chain, fund a little ETH for gas and trades, connect on peeps.wtf, then either browse Discover or open Create. This page walks both paths — trader first, then creator — with enough detail that you know where to click.
You do not need an account password. Your wallet is your identity. Peeps never custodians your funds; every buy, sell, launch, and claim is a transaction you sign yourself. Bookmark https://peeps.wtf and ignore lookalike domains.
Traders live on Discover (/launchpad), token pages, Activity, and Watchlist. Creators use the same wallet setup, then /launchpad/create — Instant or Bonding first, then Classic, Tax, or Narrative. Gas and buys need Robinhood ETH. If you only have ETH on Ethereum, open Resources → Bridge (LiFi Ethereum → Robinhood Chain), wait for arrival, then switch to Robinhood Chain. Buy $PEEPS is optional brand/ecosystem — not required to trade or create.
A failed first trade is usually wrong network, empty gas, or tight slippage — not a mystery. Start small on unfamiliar tokens, and read Fees and Safety & risks before you size up.
Before you begin
- An EVM-compatible wallet (browser extension or mobile wallet that can add custom networks)
- Access to ETH you can bridge or send to Robinhood Chain
- The official site: https://peeps.wtf — ignore lookalike domains and DM “support” links
- A few minutes to confirm network, balances, and your first quote before sizing up
For traders
Traders live primarily on Discover (/launchpad), token pages, Activity, and Watchlist. Follow these steps the first time you arrive.
Open a wallet
Install or open an EVM-compatible wallet. Write down your seed phrase offline and never paste it into a website. Peeps only asks you to connect and sign transactions — never to type a seed.
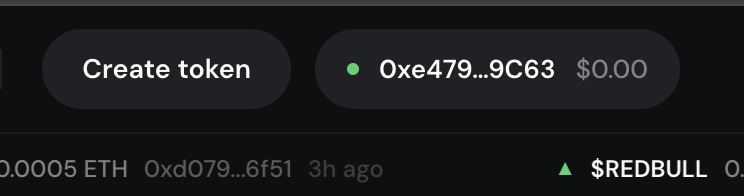
Your wallet icon should appear after a successful connect. Select Robinhood Chain
Add (import) Robinhood Chain in your wallet if it is missing, then switch to it. Peeps needs this network for every trade and launch. Full network details are in Wallet & network. If you stay on Ethereum mainnet or another chain, transactions will fail or never show up in Peeps.
Fund Robinhood ETH
Peeps gas and buys need Robinhood ETH (ETH on Robinhood Chain) — not Ethereum mainnet ETH alone. If your ETH is only on Ethereum, open sidebar / menu → Resources → Bridge, route Ethereum → Robinhood Chain (in-app LiFi by default), wait for arrival, then switch the wallet to Robinhood Chain. Keep a small buffer so gas does not strand a swap mid-flow.
Connect on peeps.wtf
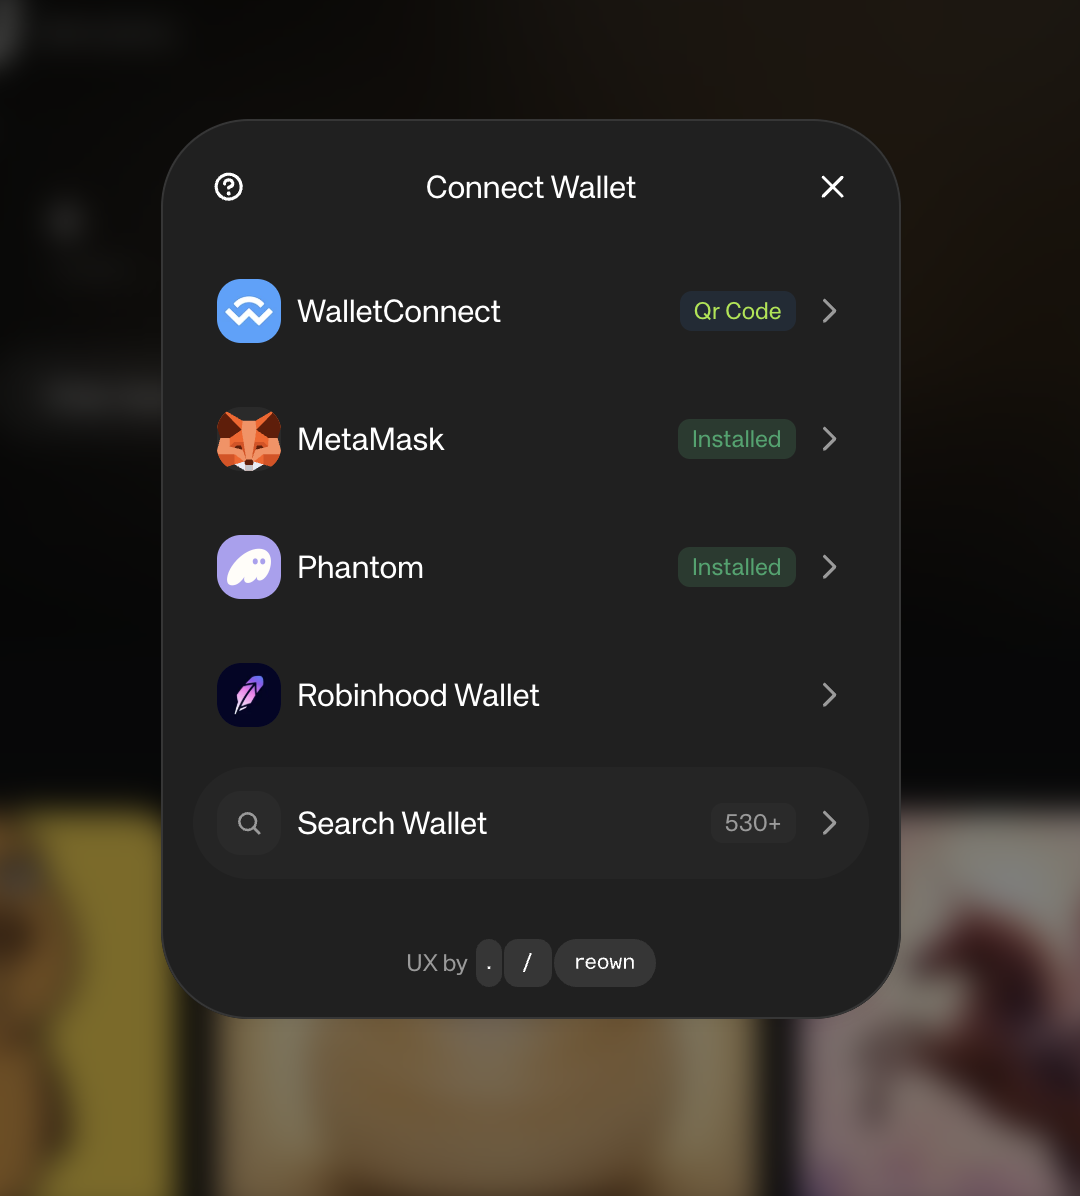
Open the official site, hit Connect, pick your wallet, and approve the connection. Browse Discover — desktop nav Discover / Peeps logo home, or mobile Board in the bottom navigation.
Make a trade
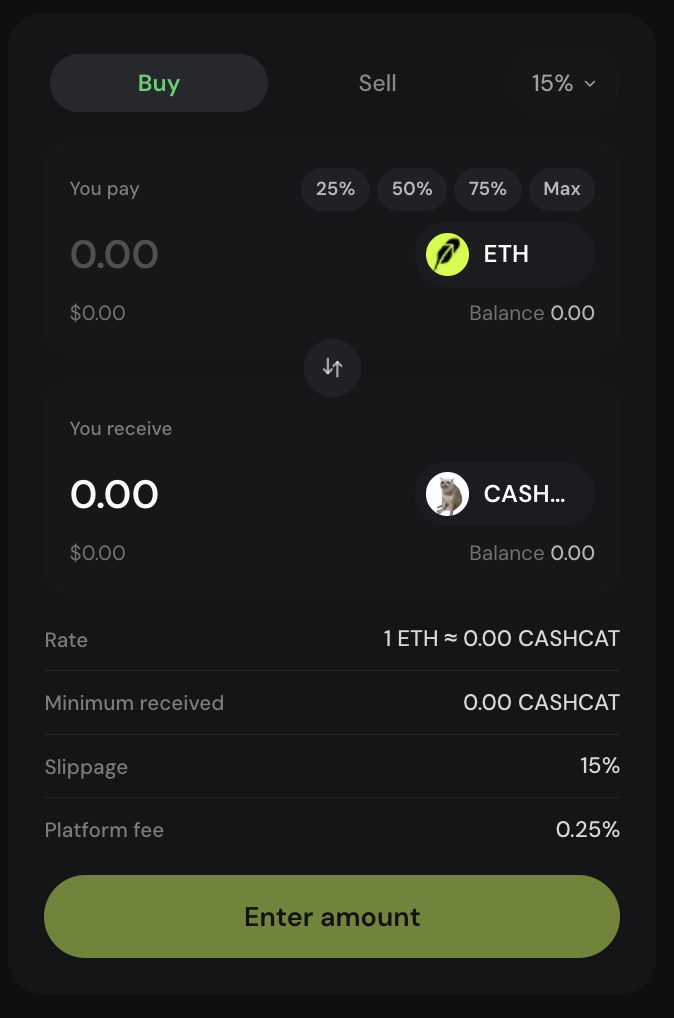
Open a token from the board → use the Buy / Sell panel → enter an amount → review the estimated receive amount, fees, and slippage → confirm in your wallet → wait for confirmation before assuming it settled.
For creators
Creators use the same wallet setup, then open Create Token. First pick Instant (live Uniswap) or Bonding (curve → migrate), then Classic V3, Tax V4, or Narrative. Full map: Create: Instant, Bonding & Narrative.
Connect the same way
Wallet on Robinhood Chain with enough ETH for launch costs, optional first buy, and gas. Check your balance before you fill a long form so you are not stuck at the confirm step.
Open Create
Go to Create Token from the nav, the mobile bottom bar, or /launchpad/create. Choose Instant or Bonding, then Classic (no tax), Tax (buy/sell tax), or Narrative (prefilled Tax from Hot elsewhere).
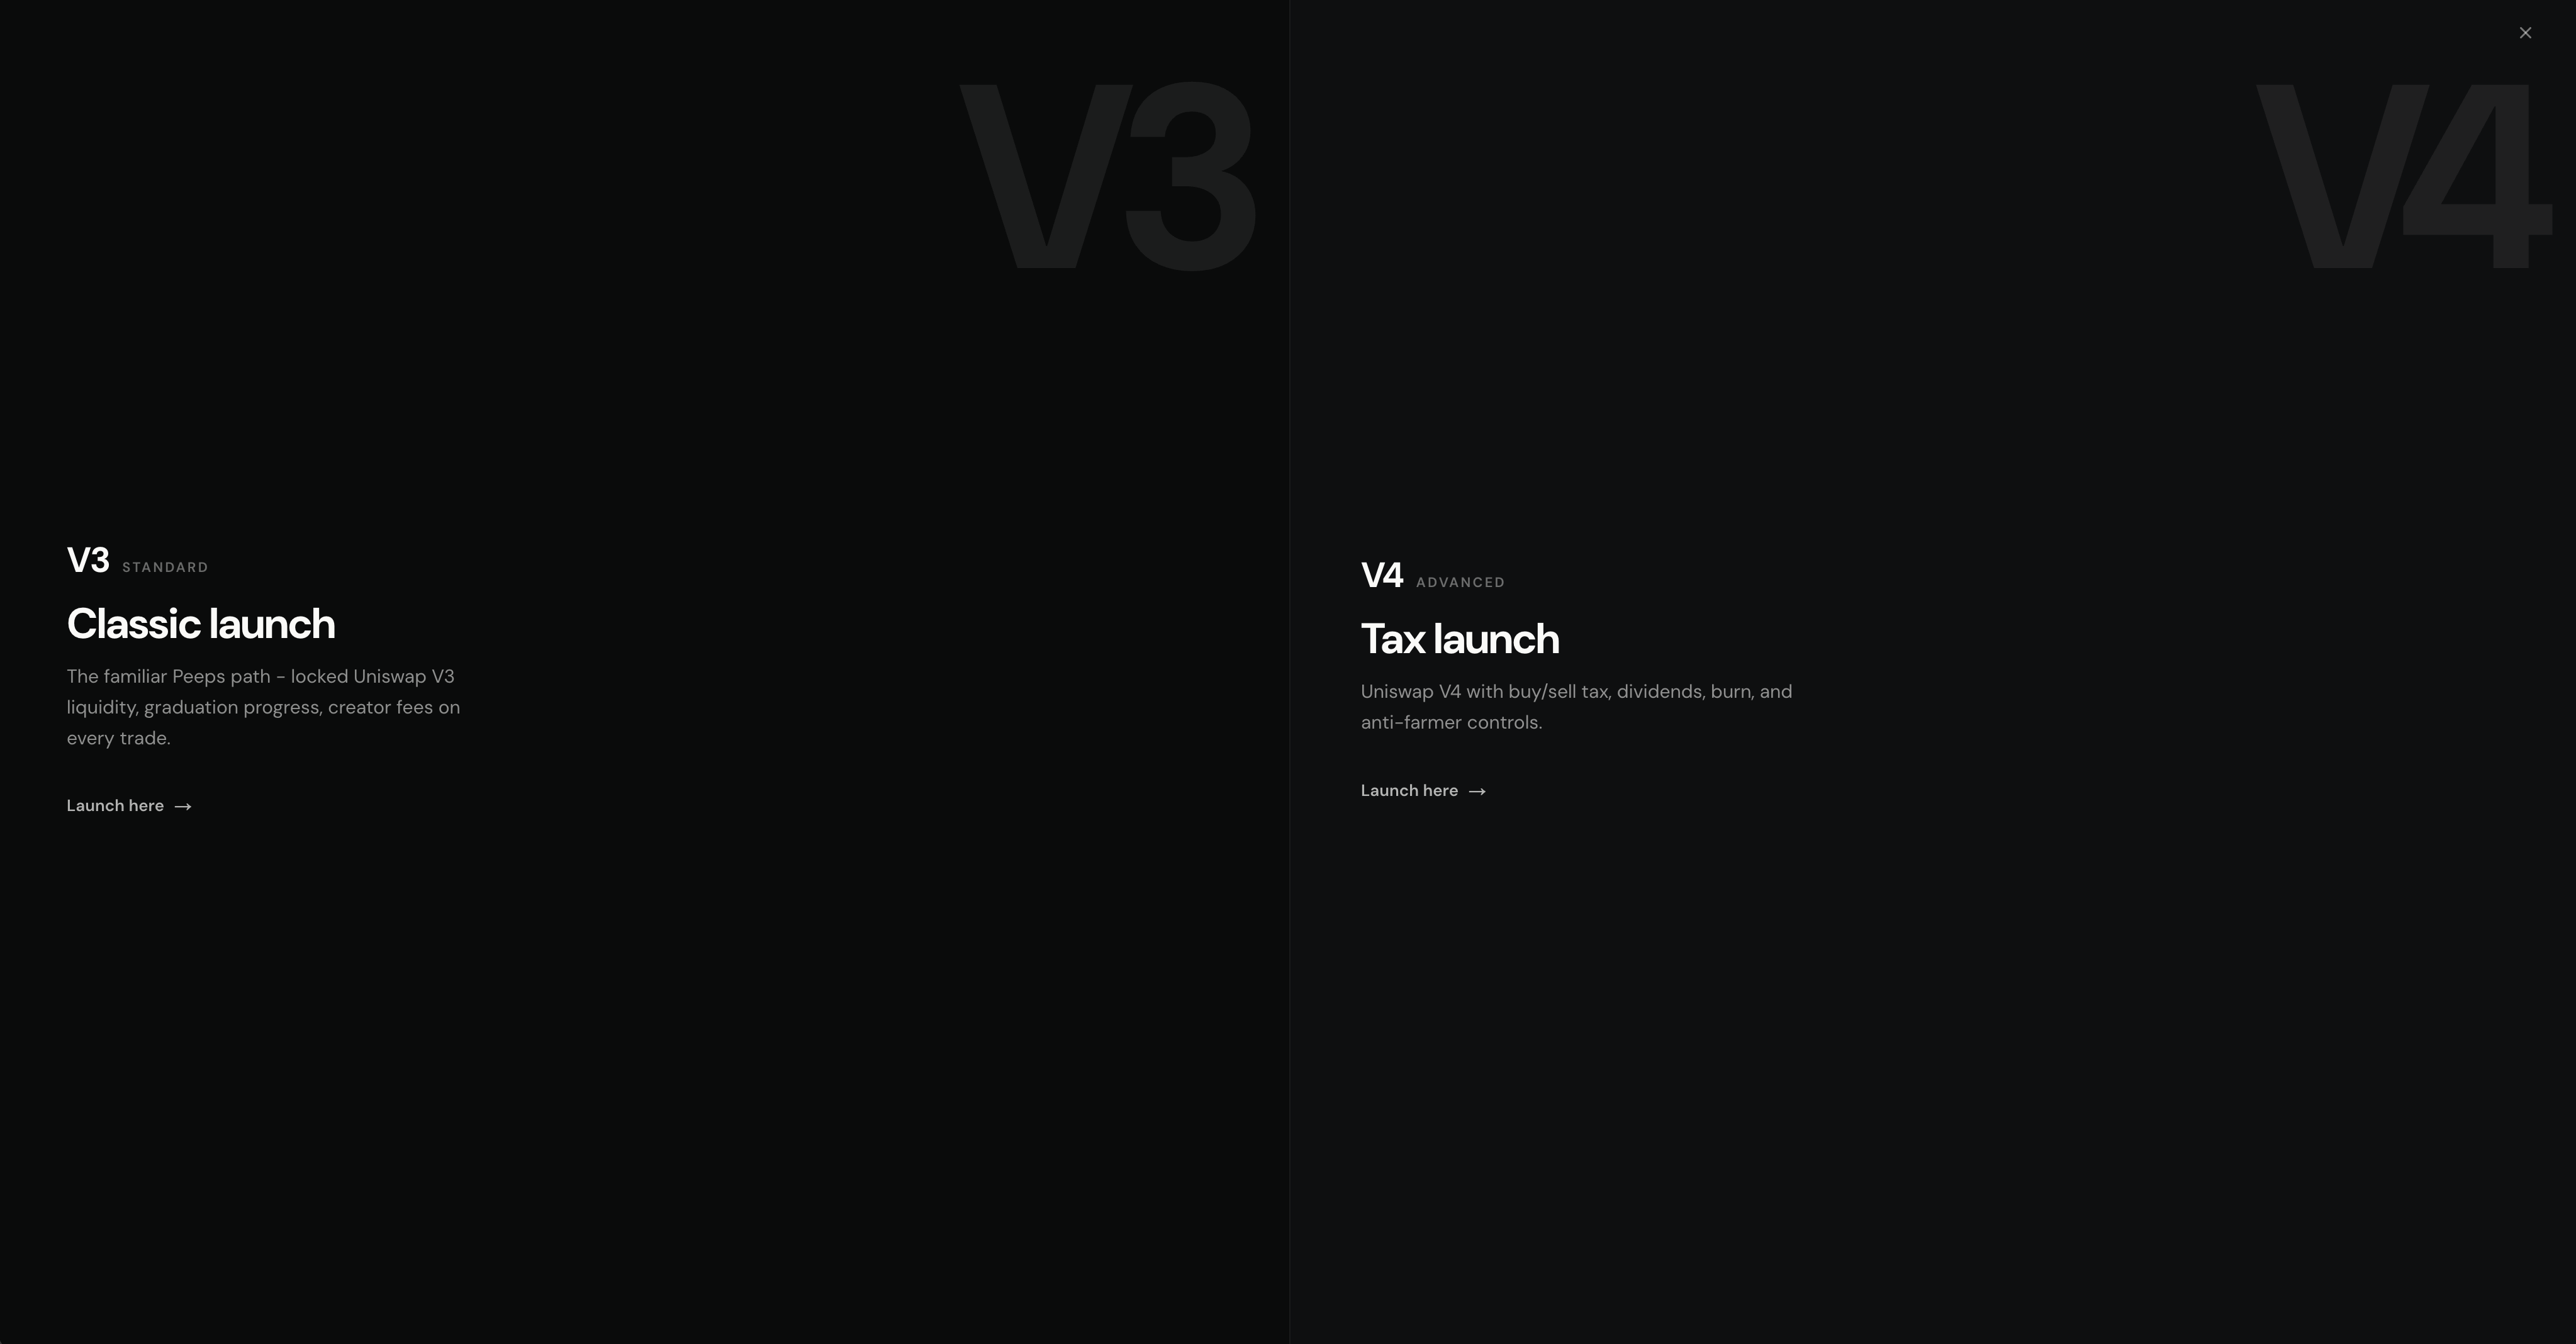
Instant or Bonding first, then Classic, Tax, or Narrative. Fill metadata carefully
Name, ticker, image, description, and social links shape how people find and trust your launch. Broken links and placeholder art make traders bounce. Preview how the token will look on Discover and the token page.
Configure launch options
On Classic V3: optional initial buy, anti-snipe (default on), socials, optional dual promo codes, then summary lines (launch fee, pool trading fee, graduates at, creator share). On Tax V4: trade tax 1–10%, 100% splits across Treasury/Burn/Dividend/Liquidity, tax recipient, anti-farmer days, anti-snipe, anti-bundle, initial buy, socials, promos.
Review and publish
Read the on-screen summary — fees, tax preview (V4), promo preview if any — then confirm the transaction in your wallet. After confirmation, open your token page and Profile → Created to manage what you launched.
What “success” looks like after connect
- Your truncated wallet address or avatar appears in the header / account area
- Discover loads token cards with market data (or empty states if the board is quiet)
- Create accepts your form and prompts a wallet signature when you publish
- Profile (/launchpad/profile) shows Created · Held · Activity · Watchlist once you are connected (public profiles show Created · Activity)
Your first Buy / Sell
After you connect, open any token from Discover and use the Buy / Sell panel. Enter an amount, read the estimated receive amount, then confirm in your wallet. Gas is paid in Robinhood ETH and sits on top of trading fees — keep a small buffer so the confirmation does not fail. Only Ethereum ETH? Resources → Bridge first.
- Quote first, then wallet signature
- Wrong network is the most common silent failure
- Start with a size you can afford to lose
Terms you will see
- Connect
- Linking your wallet to peeps.wtf so you can trade, create, favorite, and claim.
- Robinhood Chain
- The network where Peeps launchpad trades and launches settle — your wallet must be on it.
- Gas
- Network fee paid in Robinhood ETH for each on-chain action, separate from Peeps trading fees. Ethereum mainnet ETH does not pay it until you bridge.
- Quote
- The estimated tokens or ETH you will receive before you confirm in your wallet.
- Slippage
- How much price movement you allow between the quote and the actual fill.
- Classic V3
- Standard bonding-curve launch — pick this on Create unless you need tax tools.
- Tax V4
- Launch type with buy/sell tax — only choose it when you need those controls.
- Bridge
- Resources → Bridge — move Ethereum ETH onto Robinhood Chain (in-app LiFi) so you can pay gas and trade.
- Robinhood ETH
- ETH on Robinhood Chain. Required for gas, buys, and create — not the same as ETH only on Ethereum mainnet.